Plesk is a professional hosting control panel that is widely used especially on Windows and Linux servers. SSL certificate installation is very intuitive and user-friendly on Plesk. In this guide, we explain step by step how to create CSR in the Plesk panel, setup paid and free SSL, and configure HTTPS.
1. Creating CSR (Plesk Panel)
Creating CSR from Plesk Interface
- Login to Plesk panel
- Go to Websites & Domains section from the left menu
- Click on the "SSL/TLS Certificates" link under the relevant domain
- Click the "Add SSL/TLS Certificate" button
- Enter the certificate name (ex: "example.com-2026")
- Fill in the following information:
- Bits: 2048 or 4096
- Country: TR
- State: Your city name
- Location: City
- Organization: Company name
- Domain name: www.example.com
- Email: admin@example.com
- Click the "Request" button
- CSR and Private Key will be generated automatically
Generating CSR with SSH
openssl req -new -newkey rsa:2048 -nodes \
  -keyout /etc/ssl/private/example.com.key\
  -out /etc/ssl/certs/example.com.csr\
  -subj "/C=TR/ST=Istanbul/L=Istanbul/O=Company Name/CN=www.example.com"
2. Paid SSL Certificate Installation
To install the SSL certificate you received from your certificate provider (such as DataSSL):
- Websites & Domains → Related domain → SSL/TLS Certificates
- Click on the certificate name you created earlier In the
- "Upload the certificate" section:
- Certificate (*.crt): Load CRT file or paste its content
- CA Certificate (*.ca-bundle): Install Intermediate certificate file
- Click the "Upload Certificate" button
Assigning the Certificate to the Domain
- Websites & Domains → Related domain → "Hosting Settings"
- In the "Security" section, check the "SSL/TLS support" checkbox
- Select the certificate you installed from the "Certificate" dropdown Click
- "OK" or "Apply" button
3. Free SSL (Plesk) with Let's Encrypt
- Go to Plesk → Extensions
- Search for and install the "Let's Encrypt" plugin (free)
- Websites & Domains → Related domain → "Let's Encrypt"
- Enter your email address
- Click the "Install" button
- The certificate will be automatically installed and renewed before its 90-day validity ends
4. HTTPS Redirect
Via Plesk Panel
- Websites & Domains → Related domain → "Hosting Settings"
- Enable "Permanent SEO-safe 301 redirect from HTTP to HTTPS"
- Click the "OK" button
Nginx Configuration (Plesk + Nginx)
If Plesk is running in Apache+Nginx proxy mode, you can also configure it from Nginx settings:
- Websites & Domains → "Apache & nginx Settings"
- Add to the "Additional nginx directives" section:
if ($scheme != "https") {
    return 301 https://$host$request_uri;
}
5. SSL Testing and Verification
- Plesk Panel: Check the certificate status in the SSL/TLS Certificates section
- DataSSL SSL Checker: www.datassl.com/ssl-checker
- Command line:
openssl s_client -connect example.com:443 -servername example.com
6. Common Errors and Solutions
| Error | Solution |
|---|---|
| Certificate and Private Key do not match | Reinstall the certificate using the same private key as the CSR |
| Let's Encrypt installation failed | Make sure the domain DNS is pointed to the server. Check that the .well-known/acme-challenge folder is accessible |
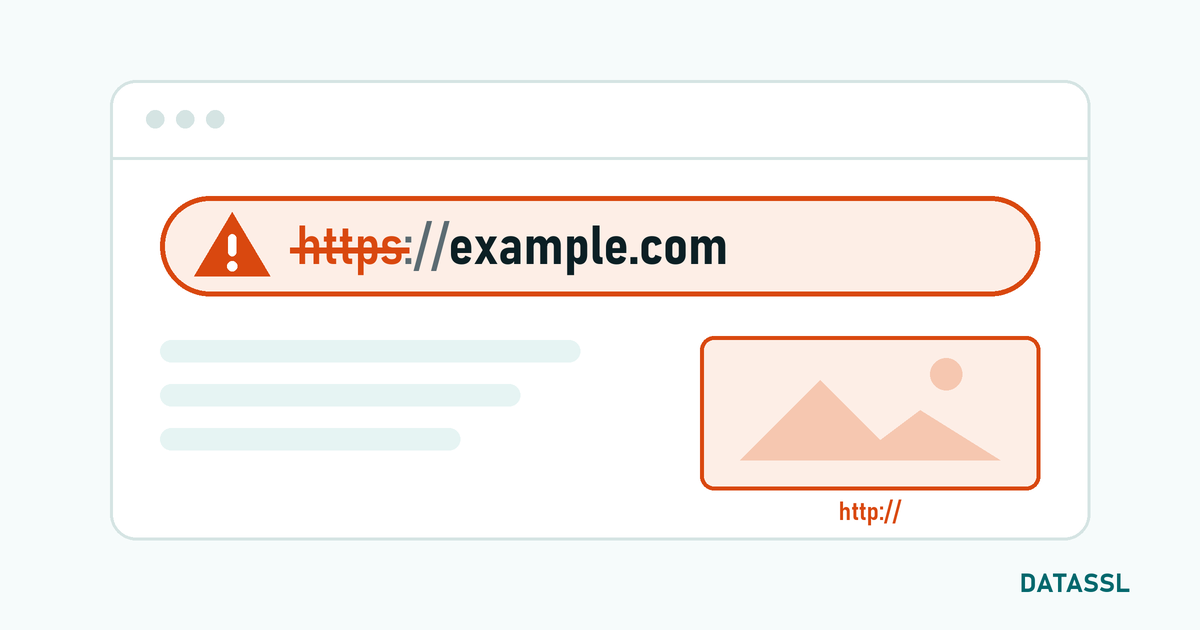
| Mixed Content warning | Update all http:// resources on the page to https:// |
| SSL certificate has expired | Install new certificate or check Let's Encrypt auto-renewal |
Frequently Asked Questions
Can I use free SSL on Plesk?
Yes, you can use a free DV SSL certificate with the Let's Encrypt plugin. You can install the plugin from the Plesk Extensions section.
How to set up Wildcard SSL in Plesk?
Wildcard SSL with Let's Encrypt requires DNS verification. For paid wildcard SSL, create the CSR as *.example.com and upload it manually.
Is Plesk SSL different on Windows server?
The basic steps are the same. SSL binding on IIS in Windows is done automatically by Plesk. There is no need for additional IIS configuration.