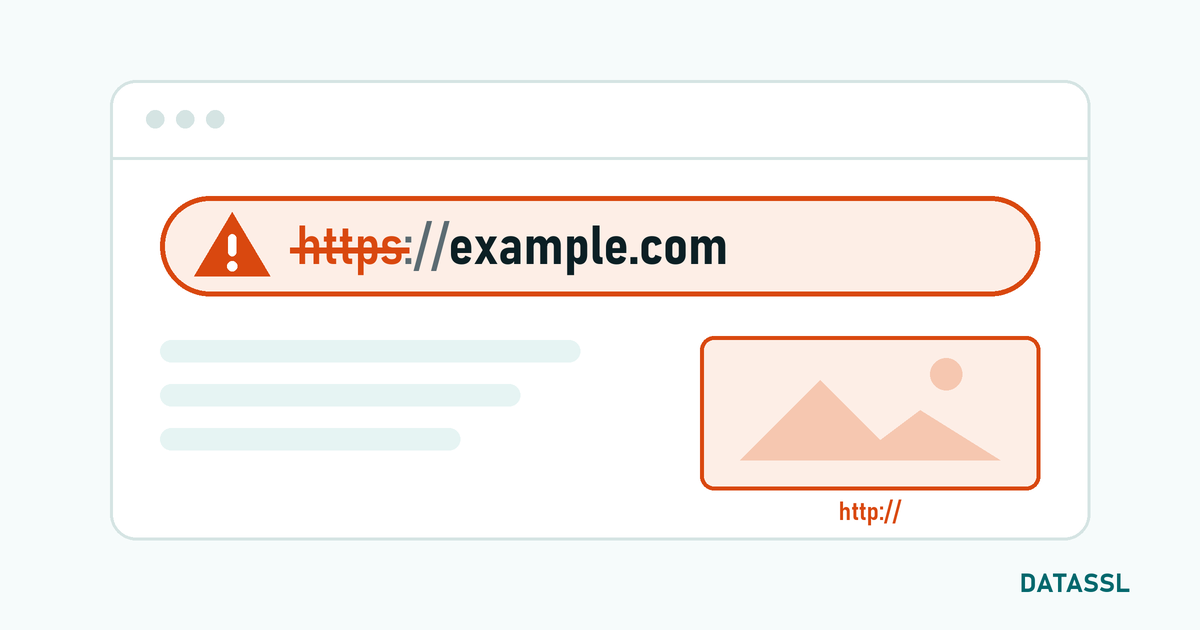
SSL Setup Overview
Although SSL certificate installation varies depending on the type of your web server, the basic steps are the same.
4 Basic Steps of the SSL Installation Process
- Creating CSR (Certificate Signing Request)
- Purchasing and verifying SSL certificate
- Uploading certificate files to the server
- HTTPS routing and testing
Step 1: Creating CSR
CSR is an encoded request sent to the certificate authority to obtain your SSL certificate.
Generating CSR with OpenSSL
openssl req -new -newkey rsa:2048 -nodes \
  -keyout domainname.key -out domainname.csr
Information to ask:
- Country Name (C): TR
- State or Province Name (ST): Istanbul
- Organization Name (O): Your Company Name
- Common Name (CN): www.alanadi.com
If you do not want to use the command line, you can use the DATASSL CSR Generator tool.
Step 2: Purchasing and Verifying SSL Certificate
DV SSL Verification Methods
- Email Verification:Confirmation email to admin@, postmaster@, webmaster@
- DNS Verification: Add the CNAME or TXT record to your DNS
- HTTP Authentication: Upload the specified file to the root directory
Step 3: Server Based SSL Setup
🔶 Apache Web Server
1. Enable SSL module:
sudo a2enmod ssl
sudo systemctl restart apache2
2. Edit the SSL configuration file:
<VirtualHost *:443>
    ServerName www.alanadi.com
    DocumentRoot /var/www/html
    SSLEngine on
    SSLCertificateFile /etc/ssl/certs/domain.crt
    SSLCertificateKeyFile /etc/ssl/private/domain.key
    SSLCertificateChainFile /etc/ssl/certs/ca-bundle.crt
    SSLProtocol all -SSLv3 -TLSv1 -TLSv1.1
</VirtualHost>
🟢 Nginx Web Server
1. Combine certificate files:
cat domainname.crt ca-bundle.crt > fullchain.crt2. Nginx configuration:
server {
    listen 443 ssl http2;
    server_name www.domain.com;
    ssl_certificate /etc/ssl/certs/fullchain.crt;
    ssl_certificate_key /etc/ssl/private/domain.key;
    ssl_protocols TLSv1.2 TLSv1.3;
    add_header Strict-Transport-Security "max-age=31536000" always;
}
🟠 SSL Setup with cPanel
- Log in to cPanel
- Go to Security → SSL/TLS
- Click "Manage SSL sites"
- Paste CRT, Private Key and CA Bundle files
- Click the "Install Certificate" button
🔵 IIS (Windows Server)
- Open IIS Manager
- Go to Server Certificates
- Select "Complete Certificate Request"
- Upload the certificate file
- Add HTTPS (port 443) from your website's Bindings settings
Step 4: HTTPS Redirect
Apache (.htaccess)
RewriteEngine On
RewriteCond %{HTTPS} off
RewriteRule ^(.*)$ https://%{HTTP_HOST}%{REQUEST_URI} [L,R=301]
Nginx
server {
    listen 80;
    server_name www.domain.com;
    return 301 https://$server_name$request_uri;
}
SSL Installation Verification and Testing
- Browser check:Check lock icon and HTTPS
- DATASSL SSL Checker: Check with our SSL Checker tool
- SSL Labs: Test at ssllabs.com/ssltest
- Mixed Content: Make sure all resources are HTTPS
Common SSL Errors
ERR_SSL_PROTOCOL_ERROR
Solution: Check the certificate file paths and restart the web server.
NET::ERR_CERT_AUTHORITY_INVALID
Solution: Add the CA Bundle file to the certificate chain.
Mixed Content Warning
Solution: Update all resource URLs to HTTPS.
Buy your SSL certificate now and start installation!